


DARIANE SANCHE: BUILDING CINEMATIC WORLDS, ONE PORTRAIT AT A TIME
Blog
Dariane Sanche: Building Cinematic Worlds, One Portrait at a Time
Step into Dariane Sanche’s Montreal studio and you might feel like you’ve wandered into a dream. A model stands under carefully sculpted light. Props — sometimes surreal, sometimes minimal — set the scene. Music plays softly in the background. For Sanche, a Pictorem Ambassador whose work blends fashion, portraiture, and cinematic storytelling, photography isn’t just about capturing someone’s likeness. It’s about building entire worlds — and inviting others inside. Her creative process begins everywhere and nowhere at once. Inspiration might strike during a walk in nature, watching a movie, or catching an unguarded expression on a stranger’s face. “I really examine the face of the people,” she says. “And I’m very inspired to create some characters around people.”
The artists she admires reflect her fascination with both whimsy and humanity. Tim Walker’s dreamlike fashion photography and Tim Burton’s fantastical worlds are touchstones, as is Peter Lindbergh’s stark intimacy. “Tim Walker showed me you don’t have to follow rules,” she explains. “If you want a world that’s very weird, with characters that you don’t really understand what they’re doing — but you’re right — you can do what you want. And this is really what I like.” For Sanche, that freedom translates into bold creative choices. “If I want to create a world that there is a big mushroom and this is a light and there is a creature and I can put the color I want, the lighting I want — this is for me, freedom when I do photography.”
Her connection to photography wasn’t built in classrooms. In fact, she failed her first photography course. “The teacher was like, ‘What’s going on, Dariane? Why you fail your homework and exam?’ And I was like, ‘But I just understand when I’m self-taught.’” Rather than give up, she taught herself through trial and error. “You cannot know if you don’t try,” she says. “So I put the lighting in the face. If it’s good, it’s good. If it’s not, it’s not. But at the end of the day, if you have something you’re proud about on your photo and you like the lighting — it’s okay for the technique. It’s more feeling.” That self-taught approach eventually became a strength — one she now shares with others. “I failed my photography school class, and now I have a program where I coach photographers,” she says, smiling at the irony. Her portraits are intimate — often shot close, emphasizing subtle expressions and the natural lines of the body. “For me, portraiture… it’s very intimate. It’s very close. I’m always, always close to my model when I do portraits. And I direct people a lot. And for me, it’s everything in the eyes, the way the people look at an object, in the landscape, when they look at the camera.”
Yet even in her pursuit of intimacy, she pushes herself to experiment. She recalls a photoshoot in Italy that took her far outside her usual comfort zone: “It was very far away… I have to take a walkie-talkie to talk to my model. It was completely the opposite of what I do when I do portraits… but I really like this photo. It’s very different, and I think it’s very strong.” For Sanche, every shoot is more than a session — it’s an immersive experience. “Photography, for me, it’s a world. It’s an instant, it’s emotion, and it’s deep. And I create with the lighting but also with the way I direct models and actors… and very intimate moments. And what I like about this is to make people live what I have in my mind. And it’s not just a photo shoot — it’s really an experience.” In an era of fast-scrolling social media, Sanche is deliberate about the value of printed work. “Today, I think it’s very important to have something special,” she says. “And for me, special is to print your photo… Because today, with social media, I think it’s like too fast. You can have so many pictures and having one picture that you took the time to choose is very, very important.” She lights up when talking about seeing her images large-scale and tangible. “I never get bored of passing in front of my photo and just check it out a bit,” she says. That philosophy — slowing down, choosing carefully, creating with freedom — is at the heart of everything she does. Whether she’s sketching concepts on paper, building mood boards on Pinterest, or directing an actor mid-shoot, Sanche sees every project as an opportunity to translate the vivid images in her mind into something the rest of us can feel. “For me, photography is freedom,” she says simply. “When you understand that, you can create everything you want.”
Step into Dariane Sanche’s Montreal studio and you might feel like you’ve wandered into a dream. A model stands under carefully sculpted light. Props — sometimes surreal, sometimes minimal — set the scene. Music plays softly in the background. For Sanche, a Pictorem Ambassador whose work blends fashion, portraiture, and cinematic storytelling, photography isn’t just about capturing someone’s likeness. It’s about building entire worlds — and inviting others inside. Her creative process begins everywhere and nowhere at once. Inspiration might strike during a walk in nature, watching a movie, or catching an unguarded expression on a stranger’s face. “I really examine the face of the people,” she says. “And I’m very inspired to create some characters around people.”
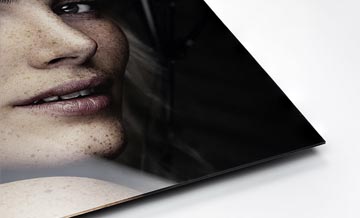
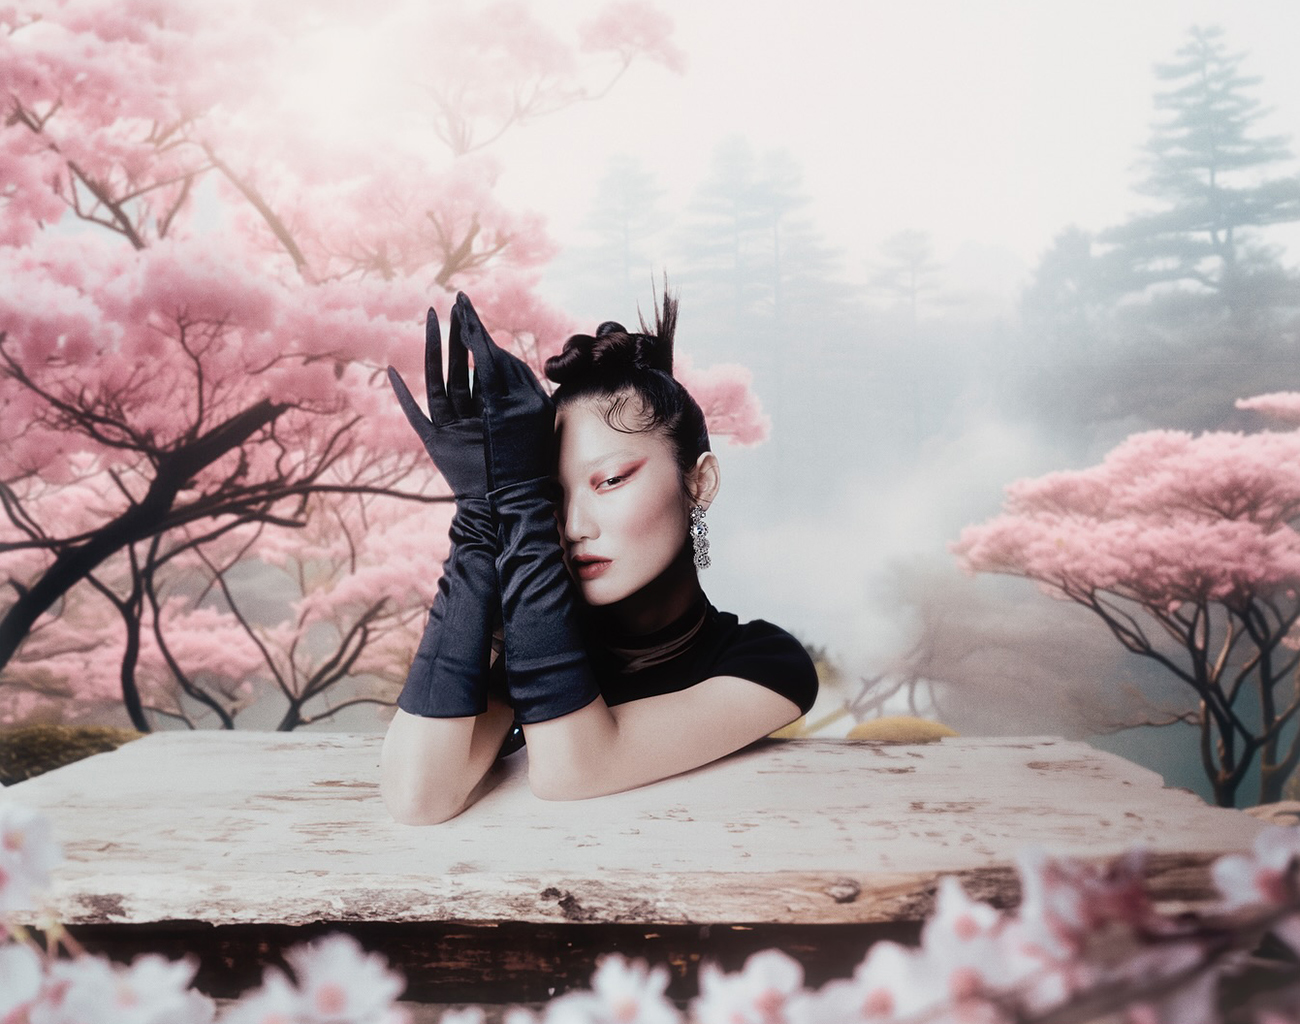 Photos courtesy: Dariane Sanche.
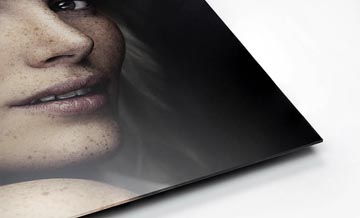
The artists she admires reflect her fascination with both whimsy and humanity. Tim Walker’s dreamlike fashion photography and Tim Burton’s fantastical worlds are touchstones, as is Peter Lindbergh’s stark intimacy. “Tim Walker showed me you don’t have to follow rules,” she explains. “If you want a world that’s very weird, with characters that you don’t really understand what they’re doing — but you’re right — you can do what you want. And this is really what I like.” For Sanche, that freedom translates into bold creative choices. “If I want to create a world that there is a big mushroom and this is a light and there is a creature and I can put the color I want, the lighting I want — this is for me, freedom when I do photography.”
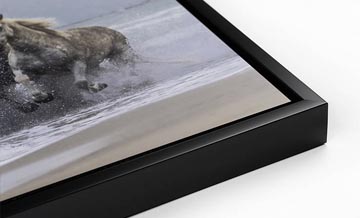
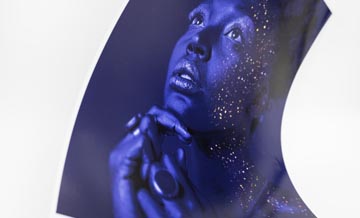
 Photos courtesy: Dariane Sanche.
Her connection to photography wasn’t built in classrooms. In fact, she failed her first photography course. “The teacher was like, ‘What’s going on, Dariane? Why you fail your homework and exam?’ And I was like, ‘But I just understand when I’m self-taught.’” Rather than give up, she taught herself through trial and error. “You cannot know if you don’t try,” she says. “So I put the lighting in the face. If it’s good, it’s good. If it’s not, it’s not. But at the end of the day, if you have something you’re proud about on your photo and you like the lighting — it’s okay for the technique. It’s more feeling.” That self-taught approach eventually became a strength — one she now shares with others. “I failed my photography school class, and now I have a program where I coach photographers,” she says, smiling at the irony. Her portraits are intimate — often shot close, emphasizing subtle expressions and the natural lines of the body. “For me, portraiture… it’s very intimate. It’s very close. I’m always, always close to my model when I do portraits. And I direct people a lot. And for me, it’s everything in the eyes, the way the people look at an object, in the landscape, when they look at the camera.”
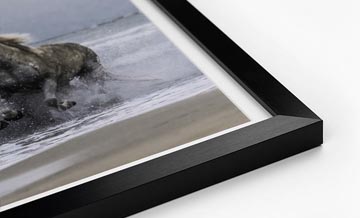
 Photos courtesy: Dariane Sanche.
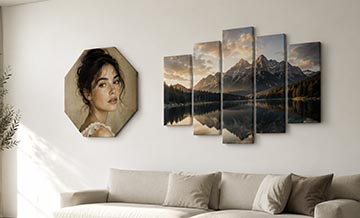
Yet even in her pursuit of intimacy, she pushes herself to experiment. She recalls a photoshoot in Italy that took her far outside her usual comfort zone: “It was very far away… I have to take a walkie-talkie to talk to my model. It was completely the opposite of what I do when I do portraits… but I really like this photo. It’s very different, and I think it’s very strong.” For Sanche, every shoot is more than a session — it’s an immersive experience. “Photography, for me, it’s a world. It’s an instant, it’s emotion, and it’s deep. And I create with the lighting but also with the way I direct models and actors… and very intimate moments. And what I like about this is to make people live what I have in my mind. And it’s not just a photo shoot — it’s really an experience.” In an era of fast-scrolling social media, Sanche is deliberate about the value of printed work. “Today, I think it’s very important to have something special,” she says. “And for me, special is to print your photo… Because today, with social media, I think it’s like too fast. You can have so many pictures and having one picture that you took the time to choose is very, very important.” She lights up when talking about seeing her images large-scale and tangible. “I never get bored of passing in front of my photo and just check it out a bit,” she says. That philosophy — slowing down, choosing carefully, creating with freedom — is at the heart of everything she does. Whether she’s sketching concepts on paper, building mood boards on Pinterest, or directing an actor mid-shoot, Sanche sees every project as an opportunity to translate the vivid images in her mind into something the rest of us can feel. “For me, photography is freedom,” she says simply. “When you understand that, you can create everything you want.”


